Endpoints protect the mechanical system only when they are set against the vehicle's actual limits.
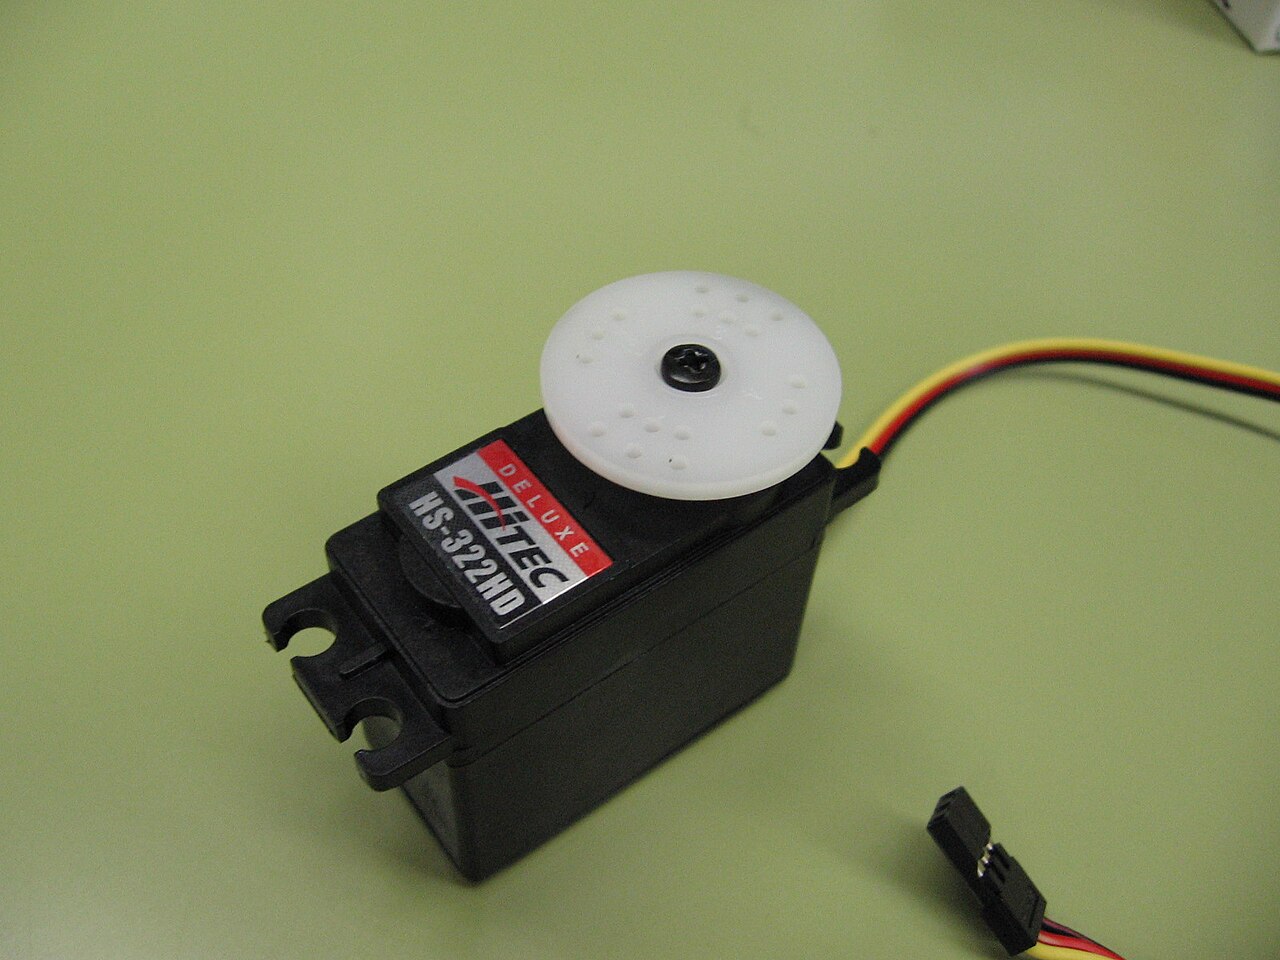
A servo. Protocol compatibility in the pack is a research note, not a wiring diagram for a specific radio.
José Luis Gálvez (Digigalos) · CC BY-SA 2.5
Photo credit & source ↗
View the teaching schematic
Servo setup has three separate targets: the radio’s neutral signal, the horn/linkage’s mechanical position and the chassis’s usable travel. Treating them as one adjustment can preload the steering or command the servo against a physical stop.
Establish the unpowered mechanical baseline
Disconnect the drive battery. Move the steering gently by hand and identify tyre, knuckle, link, servo-saver and chassis contact. If it binds unpowered, endpoints are not the first repair. Confirm the exact receiver channel, plug orientation, servo compatibility and power limits in the component manuals before connecting a replacement.
Let the radio establish center
Remove or loosen the horn only as the vehicle manual directs. Place the chassis on a stable stand so it cannot move and keep driven wheels clear. Switch on the transmitter and vehicle in the documented order with steering trim and, where applicable, sub-trim at the manual’s neutral setting. Let the servo settle without holding steering input. Switch off and disconnect the battery before fitting the horn near the manual’s straight-ahead position. Spline indexing may prevent a perfect clock position, so do not twist or preload the horn to force one.
Separate straight ahead from maximum travel
Use the manual-approved linkage or trim method for the final straight-ahead correction. Then power up on the stand and work on one direction at a time. Traxxas defines a steering endpoint as the electronically adjustable limit of servo travel and explains that endpoints can prevent a servo from pushing beyond its mechanical limit. Traxxas glossary. That describes the purpose, not a universal percentage.
Begin with reduced travel if the radio procedure allows it, increase gradually, and stop before tyre rub, linkage strain, servo-saver compression or knuckle contact. Return to neutral between left and right checks. Record the physical limiting point and the radio setting for each side; unequal numbers can be legitimate because the assembled chassis is the reference.
Read symptoms by state
A bind found with power disconnected points first to mechanics. A servo that sits loaded or hums at neutral suggests the center, horn or linkage needs review. A sound appearing only at full command can indicate that the electronic request exceeds usable travel, but it is not a diagnosis of the servo itself. Power down before touching any link or horn screw.
Finish with a restrained low-input check, then disconnect the battery and confirm that hardware remains seated and movement is free. For a trail crawler, inspect clearance through slow articulation as well as steering; for a race or drift chassis, record the repeatable centered position used for its setup sheet. These are different checks, but neither authorizes travel beyond physical clearance.
Stop if the radio menu is unclear, the servo moves unexpectedly, neutral cannot be achieved without preload or the steering still strains at the lowest practical setting. Preserve the model numbers and settings when asking manufacturer support; do not solve a mechanical stop by installing a stronger servo.
Leave with a useful record.
This is a reading aid, not a safety certification. Checks stay only on this page and reset when you reload.
Sources & scope
Primary references checked September 19, 2026. These dates describe source review, not publication of this site. Examples labelled hypothetical or illustrative are not tests.
Traxxas — Traxxas glossary
Supports: Endpoint purpose and signal-loss behavior..
Limit: Exact menus and servo voltage are model-specific.
Source publication: not established · Checked: 2026-09-19