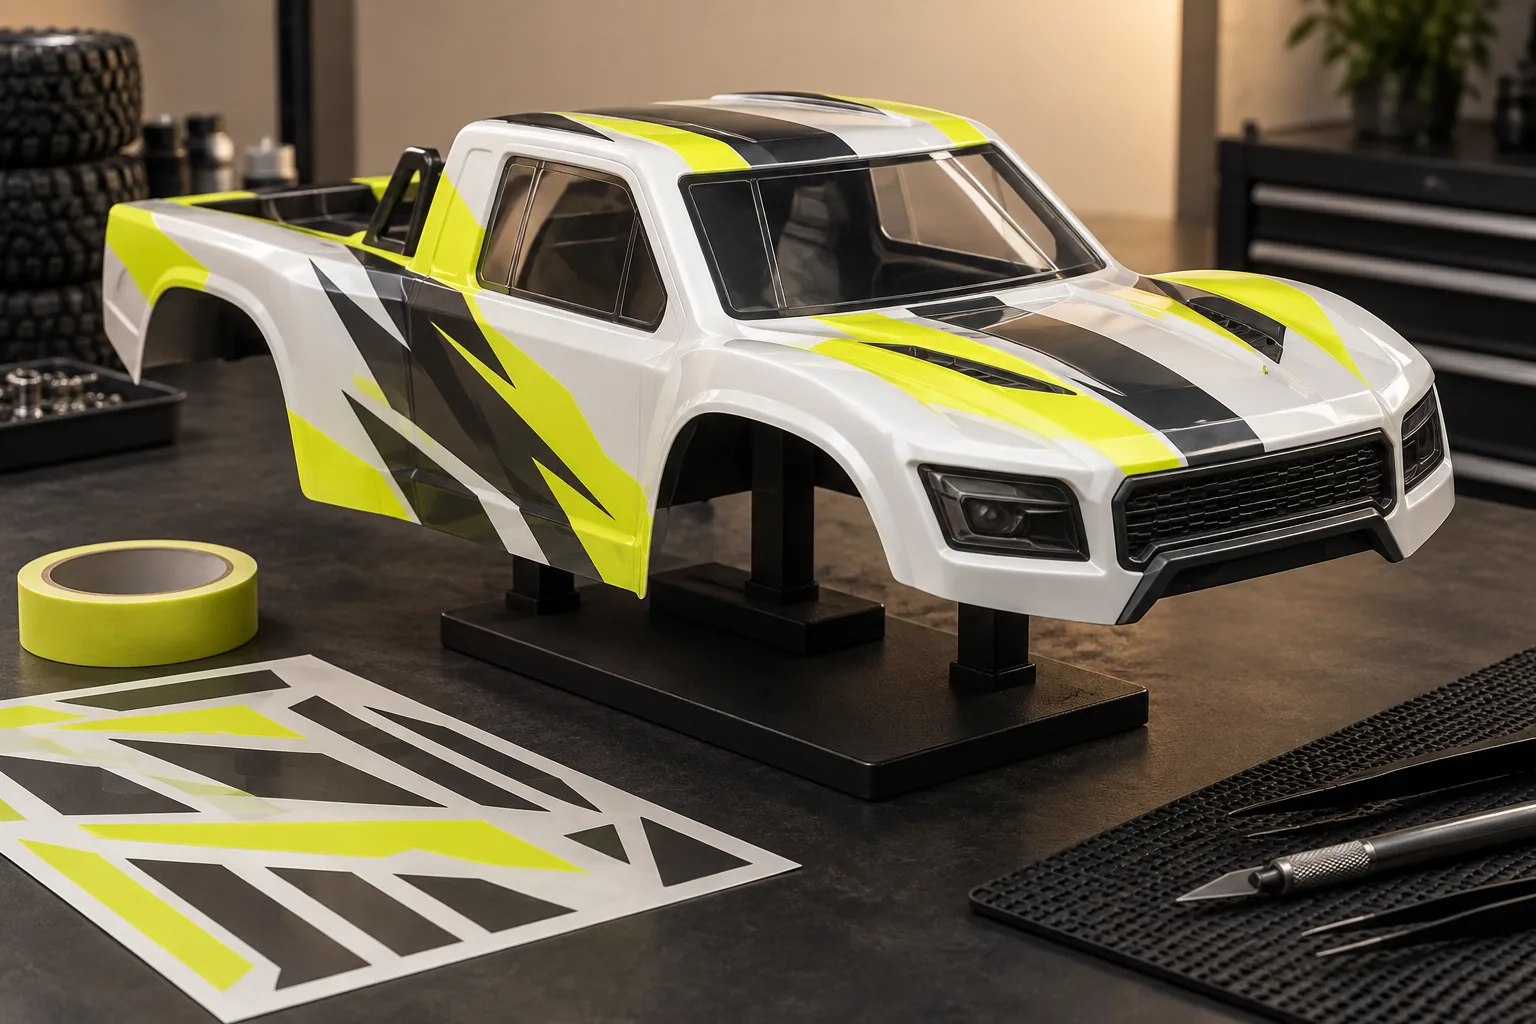
A concept sketch, not a cutting template, product photograph or paint-color match. Nothing is uploaded or saved.
01 / FIT BEFORE FINISH
The scale label is not a fit guarantee.
Confirm the shell’s intended chassis, wheelbase, width and mounting method. Check tire clearance throughout steering and suspension movement before settling on your artwork.
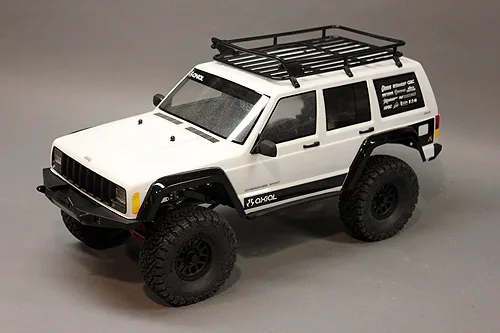
A useful example: Pro-Line’s Coyote shell specifies a particular crawler wheelbase and lists its body dimensions. Read the exact product’s fit list, not just “1:10” in its name. Manufacturer body specifications ↗
02 / KNOW THE SHELL
Clear shell or hard body?
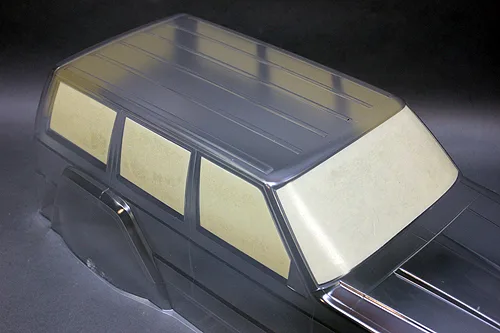
A clear polycarbonate body and a painted hard-plastic body are different finishing jobs. Identify the material and follow the body and paint manufacturers’ directions. A scheme that looks good in this sketch says nothing about chemical compatibility.
In Tamiya’s M-05 body instructions, the clear shell is washed and dried, windows masked, then painted from the inside with polycarbonate paint. Tamiya’s illustrated instructions ↗
03 / PLAN THE LAYERS
Paint, film, then graphics.
Plan colors and masks before opening the paint. Follow the exact paint system’s sequence and drying directions. Tamiya’s cited instructions remove the outer protective film before the stickers go on; Pro-Line describes a similar paint-then-peel process for the cited clear body.
Use the paint label’s ventilation and protective-equipment guidance. Keep products away from ignition sources and get appropriate help with sharp cutting tools.
04 / THE FINISHING TOUCHES
Decals are a design system.
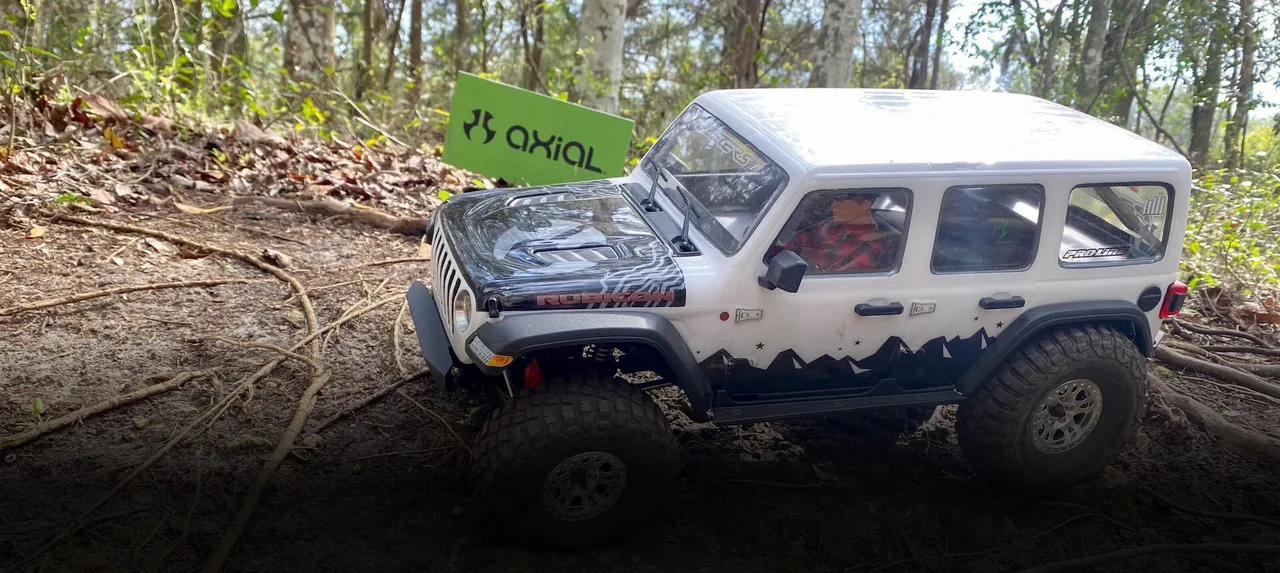
Choose a clear focal point: a number panel, one dominant stripe or a small group of accents. Test the composition with paper shapes first. Consider seams, curves, body posts and wheel arches when laying out a design.
Use original graphics or artwork you are allowed to reproduce. This sketch uses only simple original geometry; it does not imply sponsor support or reproduce a real builder’s livery.