Plan one strong identifying feature, dry-layout the graphics and align from stable references before exposing the whole adhesive surface.
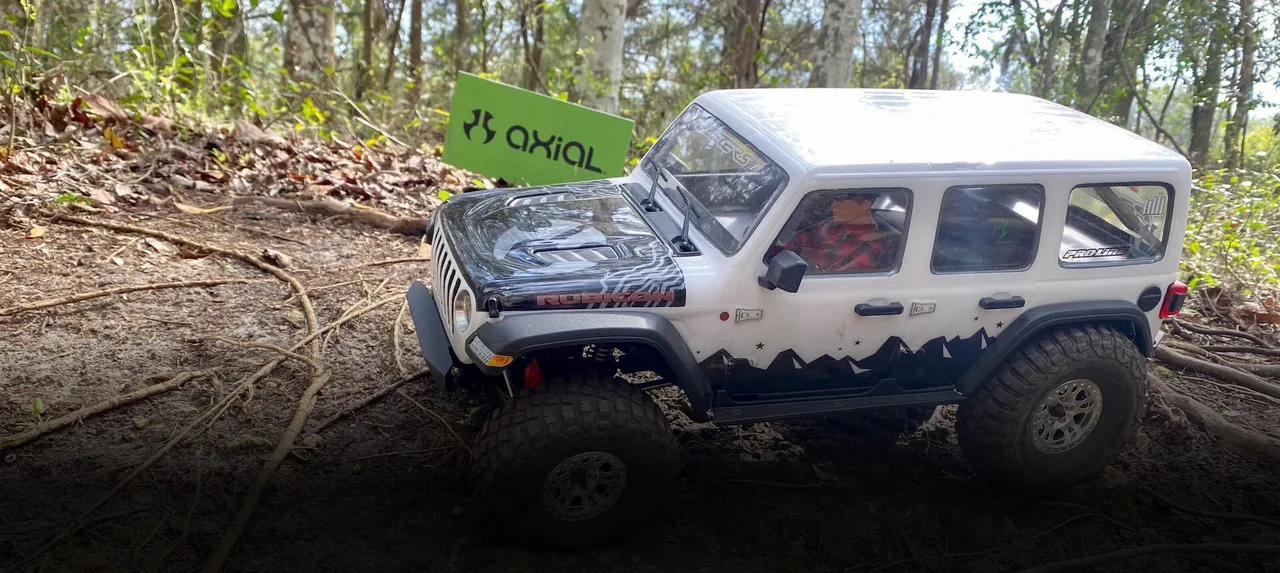
Official Axial event coverage image. It is a real driving/event scene, not a general claim about any specific model. Source page: Ultimate Scale Truck Expo 2023.
Axial Adventure / Horizon Hobby (official page; individual photographer not credited) · Copyrighted official editorial/product imagery; reuse permission not established
Photo credit & source ↗View the teaching schematic
A good decal scheme does not need the largest sticker sheet. It needs a clear idea and a placement method. Decide what you want someone to recognise first: a number, a strong diagonal stripe, a colour block or a small trail-build emblem. Everything else should help that feature rather than compete with it. The design advice here is editorial judgement, not a tested aerodynamic or performance benefit.
Give each graphic a job
Start with three levels: one primary identifier, a few supporting marks and small finishing details. Place the primary feature on a broad, readable area of the shell. Use the smaller pieces where they can be seen without crowding window edges, body releases or lamps. Keep an undecorated area; it gives the graphics somewhere to breathe.
For an original example, imagine a yellow trail truck with a black side band and white number 14. The side band provides structure, the number supplies identity and two small workshop marks add detail. If all four surfaces use a different number style and stripe direction, the result may feel busy even though each sticker looks attractive alone. Start with fewer elements and photograph the dry layout before adding more.
Dry-layout before exposing adhesive
Complete the body's required paint-curing and protective-film steps first. Confirm where the decal maker says the graphics belong and whether the supplied sheet needs trimming. A paint mask and a permanent decorative decal are not interchangeable instructions: the former controls where paint lands; the latter is part of the finished appearance.
Cut paper stand-ins or position pieces with their backing intact using a temporary method compatible with the finished surface. Do not let a rehearsal damage fresh paint. Establish reference points such as the moulded door line and window corner. Measure from the same points on each side rather than assuming the cut edges of a sticker are identical.
A simple placement record might read: number centred between the door lines; its baseline parallel to the sill; rear badge a measured distance from the window corner. Add your own actual distances only after checking the body. These are project measurements, not universal mounting instructions.
Apply in a controlled sequence
Tamiya's body-finishing tutorial demonstrates starting with only part of a sticker's backing removed, positioning it and progressively removing the remainder while avoiding trapped air. Follow the decal manufacturer's directions if they prescribe a different method. Do not improvise heat, solvents or wet application when their compatibility with the decal, adhesive and body is unknown.
Begin with a manageable graphic in an accessible area so you can understand that sheet's handling. Support the shell and work slowly from the chosen alignment reference. If a sticker folds onto itself or the surface preparation is uncertain, stop and reassess rather than stretching it into place. Sharp trimming tools call for a stable cutting surface and adult supervision where appropriate; do not cut towards your hand or the shell.
Make left and right feel related
Decide deliberately whether the sides are mirrored or simply coordinated. A wordmark should remain readable; do not mirror its lettering just because a stripe changes direction. Use the same colour family and visual weight on the roof, bonnet and sides, then check the whole car from normal standing distance. A close-up can hide an imbalance that is obvious across the room.
Leave a repair trail
Photograph the finished shell straight-on from each side and above. Keep the decal sheet identifier and unused pieces together. Note the placement references, application method and anything you would change next time. If an edge later lifts, identify the product and consult its maker before attempting a repair. Visit the Bodyshop for colour exploration and the shell-fit guide before starting another body; attractive graphics cannot correct an unsuitable fit.
Leave with a useful record.
This is a reading aid, not a safety certification. Checks stay only on this page and reset when you reload.
Sources & scope
Primary references checked September 19, 2026. These dates describe source review, not publication of this site. Examples labelled hypothetical or illustrative are not tests.
Tamiya — Learn how to paint and finish an RC body
Supports: Progressive sticker-backing removal and controlled positioning.
Limit: Application example only. Layout hierarchy, recordkeeping and hypothetical livery are original editorial suggestions, not manufacturer findings.
Source publication: not established · Checked: 2026-09-19